Open WebUI: Your Personal ChatGPT in 2025 (Completely Offline)
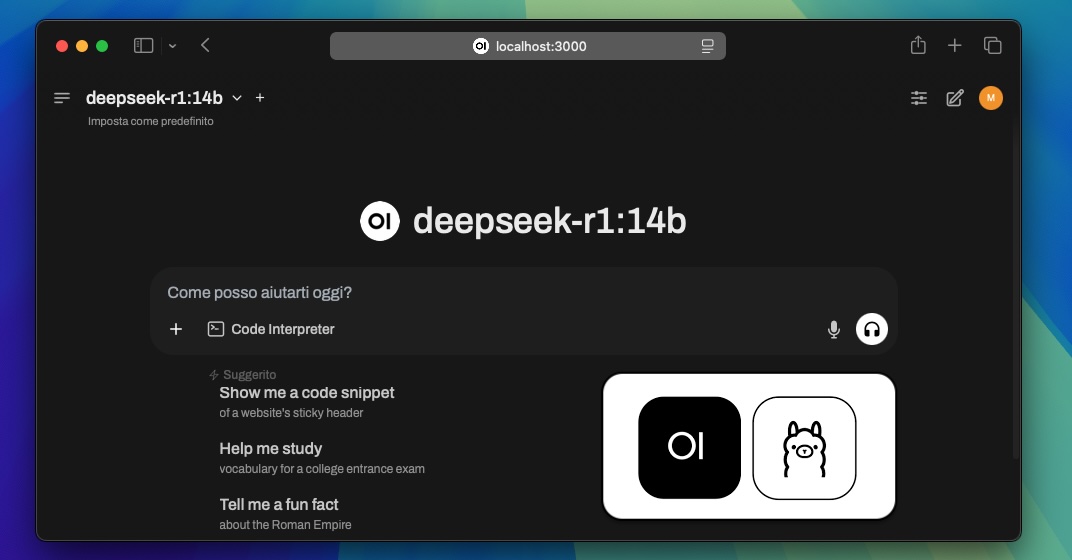
If you’re here after reading my guide on running DeepSeek locally, or you’re simply wondering whether there’s a more convenient, functional, and elegant way to interact with your local AI instead of using the terminal, the answer is yes, and it’s called Open WebUI.
What Open WebUI Is
Open WebUI is the natural evolution in using local AI models. It’s a modern, elegant web interface that turns the terminal experience into something closer to ChatGPT or Claude, but with one fundamental advantage: everything stays on your computer. You’ll no longer have to worry about the privacy of your data or pricey monthly subscriptions. You can manage multiple conversations, analyze documents, and even generate images, all locally and for free.
Before You Start
To get the most out of Open WebUI, your computer should have at least 16GB of RAM (although I personally managed to run it on a MacBook Air M2 with 8GB), a decent processor and/or an NVIDIA GPU, and about 7GB of free disk space. If you’ve already installed Docker and Ollama by following my previous guide, you’re already halfway there.
5 Ways to Install Open WebUI with Docker (and One Without)
Installing Open WebUI varies slightly depending on your setup. If you have Ollama running on your computer, use this command:
docker run -d -p 3000:8080 --add-host=host.docker.internal:host-gateway \
    -v open-webui:/app/backend/data \
    --name open-webui \
    --restart always \
    ghcr.io/open-webui/open-webui:main
If Ollama is on another server instead, modify the command by specifying the correct URL:
docker run -d -p 3000:8080 \
    -e OLLAMA_BASE_URL=https://your-server.com \
    -v open-webui:/app/backend/data \
    --name open-webui \
    --restart always \
    ghcr.io/open-webui/open-webui:main
For those with an NVIDIA GPU who want to harness its power:
docker run -d -p 3000:8080 --gpus all \
    --add-host=host.docker.internal:host-gateway \
    -v open-webui:/app/backend/data \
    --name open-webui \
    --restart always \
    ghcr.io/open-webui/open-webui:cuda
There’s also an all-in-one image that includes both Open WebUI and Ollama. With GPU:
docker run -d -p 3000:8080 --gpus=all \
    -v ollama:/root/.ollama \
    -v open-webui:/app/backend/data \
    --name open-webui \
    --restart always \
    ghcr.io/open-webui/open-webui:ollama
Or without GPU:
docker run -d -p 3000:8080 \
    -v ollama:/root/.ollama \
    -v open-webui:/app/backend/data \
    --name open-webui \
    --restart always \
    ghcr.io/open-webui/open-webui:ollama
And for those who prefer Python, there’s the pip installation:
pip install open-webui
open-webui serve
First Launch and Configuration
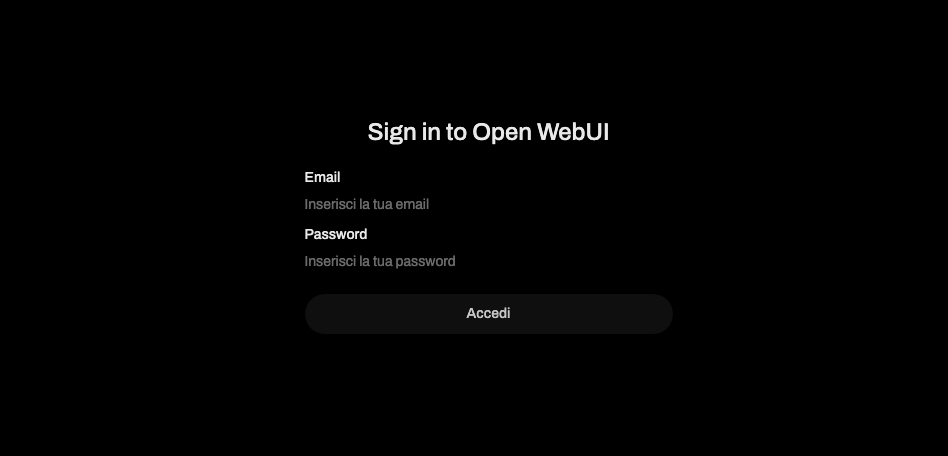
Once the installation is complete, open your favorite browser and go to http://localhost:3000 (or http://localhost:8000 if you’re not using Docker). The first thing you’ll need to do is create an admin account. Don’t worry, everything stays on your computer - you can even use a fake email if you like. After creating the account you’ll find yourself in front of this screen:
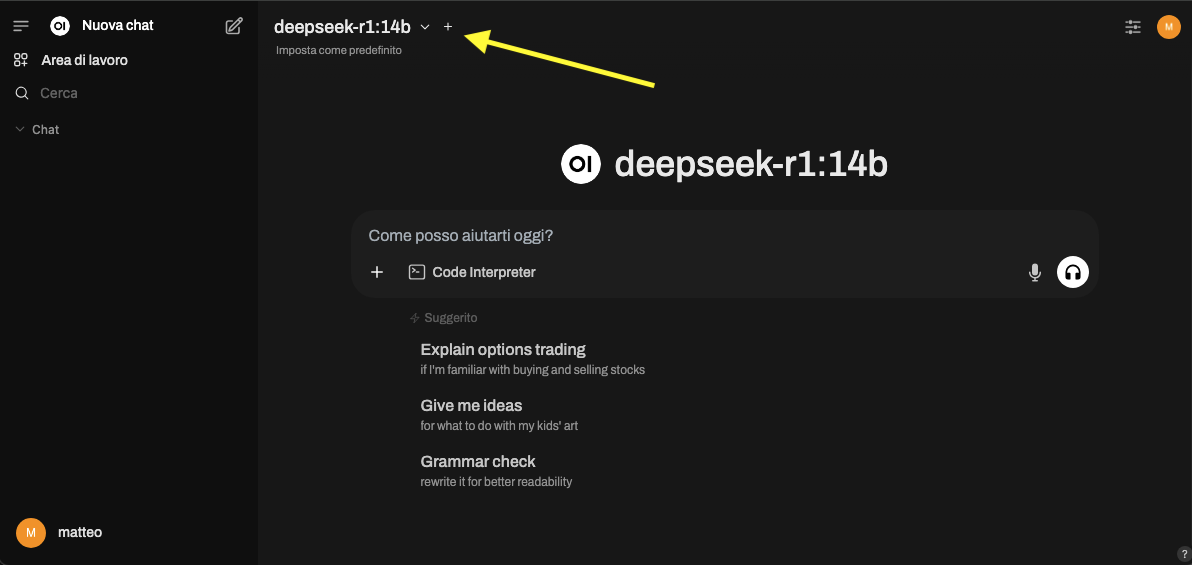
After logging in, you’ll be able to select which models to use. If you followed my DeepSeek guide, you should already see the model available in the list.
The Features You’ll Fall in Love With
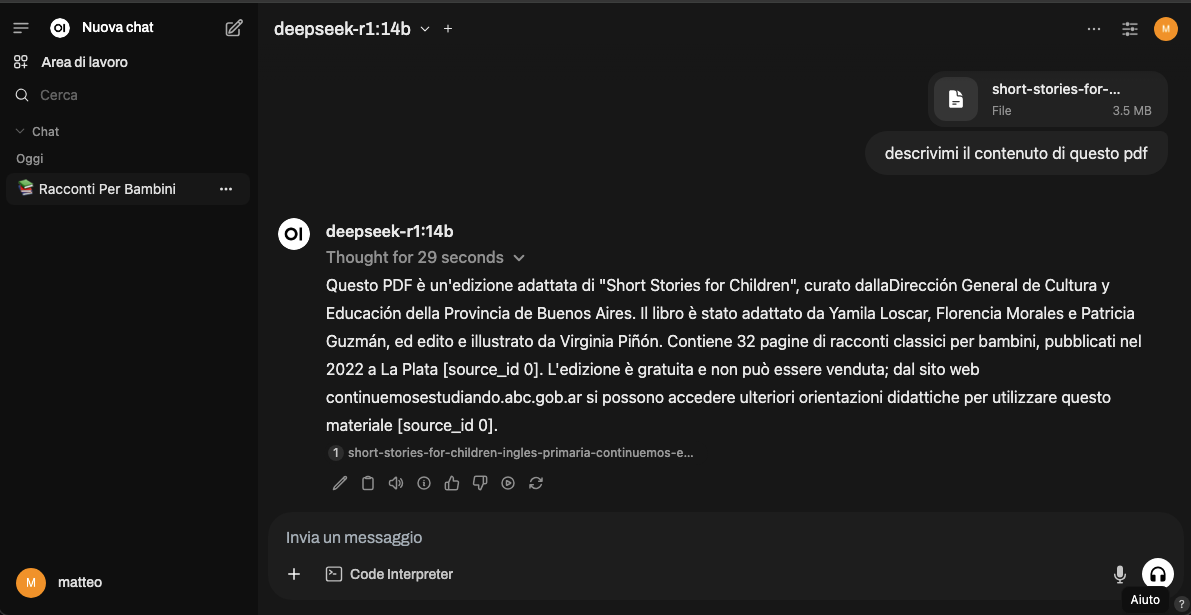
One of the most interesting things about Open WebUI is its ability to analyze documents. Imagine having 100 pages of technical documentation and needing to find one specific answer. Instead of reading the whole thing, you can upload it to Open WebUI and let the AI do the heavy lifting for you.
You can also create custom models that combine different base models with your knowledge bases. It’s like having a specialized assistant for every kind of task. And the best part? You can manage multiple conversations at the same time, organize them into folders, and even share them with your colleagues (locally, of course).
Stay Up to Date
Once it’s installed, you’ll want to keep Open WebUI up to date. The easiest way to do that is with Watchtower:
docker run --rm --volume /var/run/docker.sock:/var/run/docker.sock containrrr/watchtower --run-once open-webui
This command will automatically check for and install the latest available version of Open WebUI.
When Things Don’t Go as Planned
If you run into connection problems, the first thing to do is check that Ollama is running (use ollama list in the terminal). If everything looks fine but Open WebUI still won’t work, try checking the logs with docker logs open-webui.
In the worst case, you can always do a full reset by stopping the container (docker stop open-webui), deleting the data folder (rm -rf ${HOME}/open-webui), and restarting everything. It’s like factory-resetting your phone: it fixes a lot of problems, but you lose all your data.
The Future Is Local (and Open Source)
Open WebUI proves that we no longer have to choose between advanced features and privacy. In 2025, with AI models becoming ever more efficient and interfaces ever more sophisticated, solutions like this are no longer just an interesting alternative but a practical, sensible choice.
The community is constantly developing new plugins and features. We already have built-in image generation, advanced code analysis, and even support for voice chats. And this is just the beginning.
Is It Worth Trying?
Absolutely. Open WebUI completely transforms the experience of using local AI models. It’s no longer about tinkering with the terminal (although that has its charm), but about having a professional, intuitive tool that anyone can use.
If you’re still reading and haven’t tried installing it yet, I suggest you do it now. In the time it took you to read this article, you could already have set it up and started using it. And if you run into problems, well, you know where to find me!
P.S. If you think this is interesting, wait until you see what I have in store for the next article in the series. Spoiler: it involves artificial intelligence, a bit of Docker magic, and maybe some cursing in ancient Aramaic when things don’t work the way they should!
Useful Resources: